
In the following discourse, we delve into the realm of Microsoft Excel—a powerful tool for managing and evaluating data. While Excel proves invaluable, the reality is that repetitive tasks can impede efficiency. Enter macros, a savior in such situations. Power of Macros enable the recording and playback of sequences of actions in Excel with a single click, a time-saving boon explored in detail in this tutorial.
What Are Macros?
Before we embark on this macro journey, let’s establish what macros are. In essence, an Excel macro is a set of instructions designed to automate a spectrum of tasks. From basic cell formatting to intricate calculations and data manipulations, macros streamline processes, enabling you to accomplish tasks effortlessly with a single click.
Enabling Macros in Excel: A Step-by-Step Guide
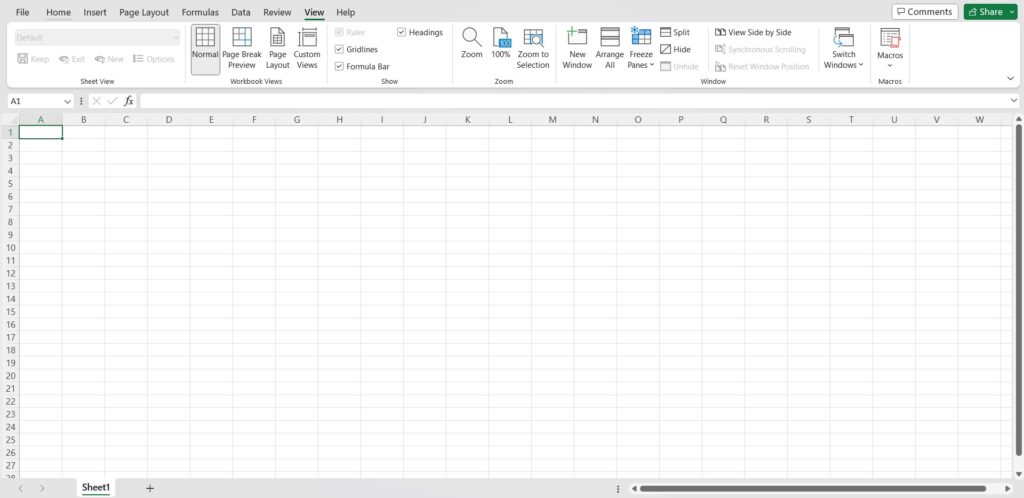
Step 1: Open Excel
Initiate Excel from your desktop by clicking the Excel icon or searching for “Excel” in the Windows start menu.
Step 2: Access Excel Options
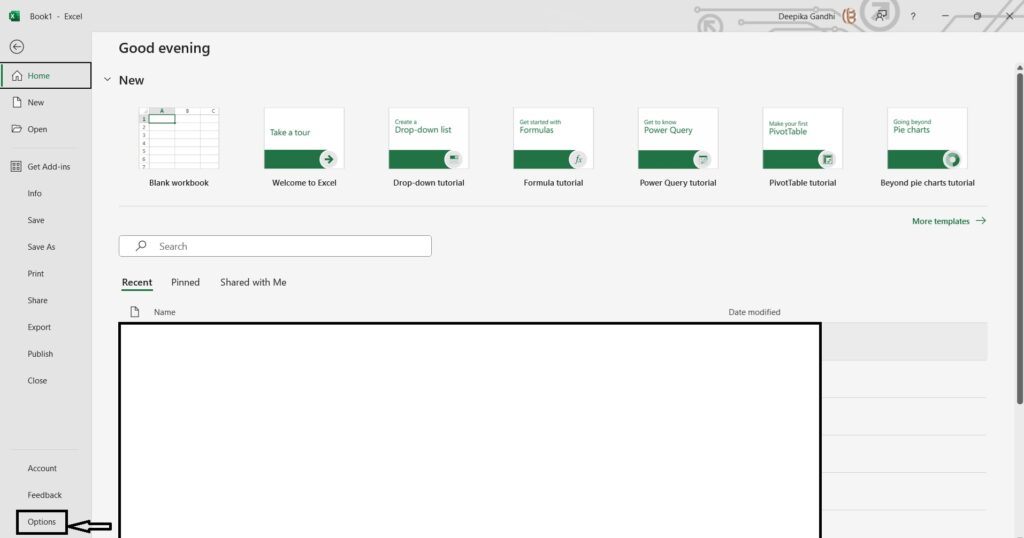
After Excel opens, navigate to the top-left corner and click “File.” Subsequently, choose “Options” from the list, leading to the Excel Options window.
Step 3: Navigate to Trust Center
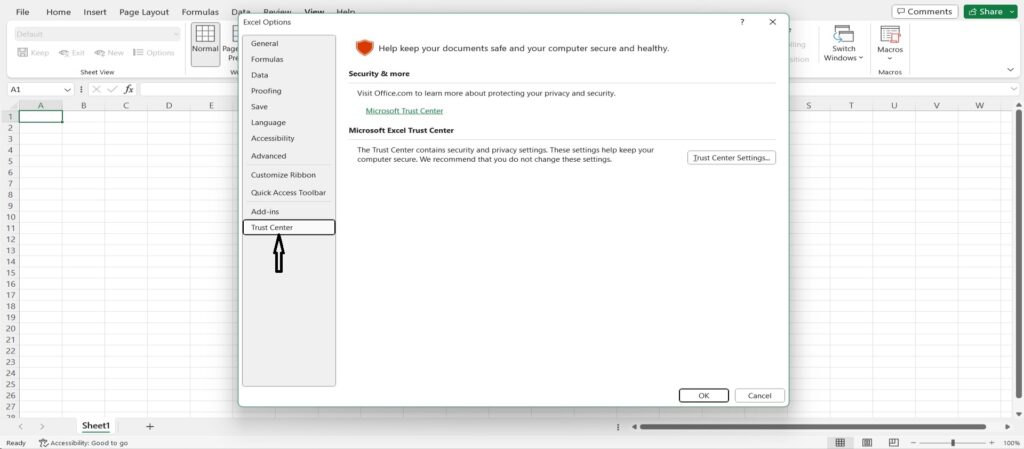
Within the Excel Options window, select “Trust Center” from the left-hand menu.
Step 4: Access Trust Center Settings
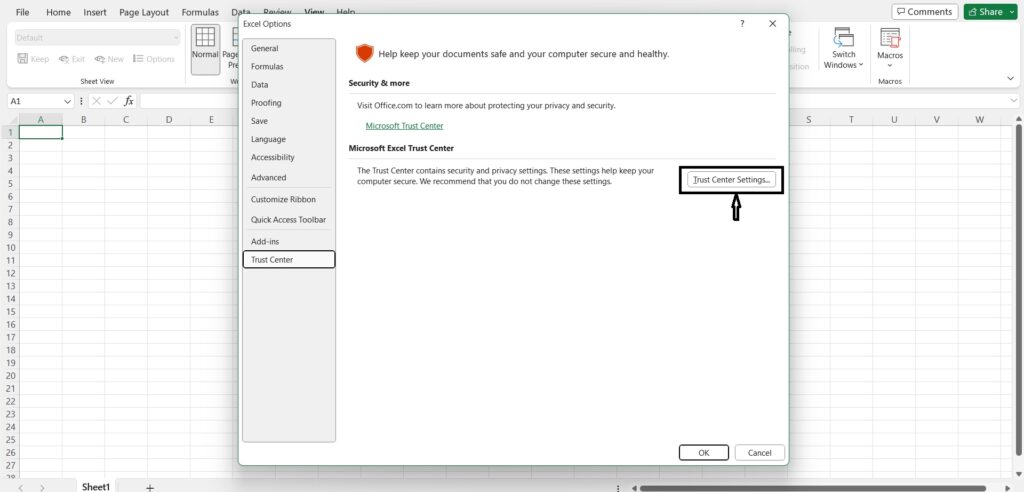
In the Trust Center, click “Trust Center Settings…” to access the settings.
Step 5: Enable Macros

Within the Trust Center window, select “Macro Settings” from the left-hand menu. Opt for “Enable all macros (not recommended; potentially dangerous code can run).” A note of caution: exercise discretion and permit macros only from trustworthy sources.
Step 6: Confirm Changes
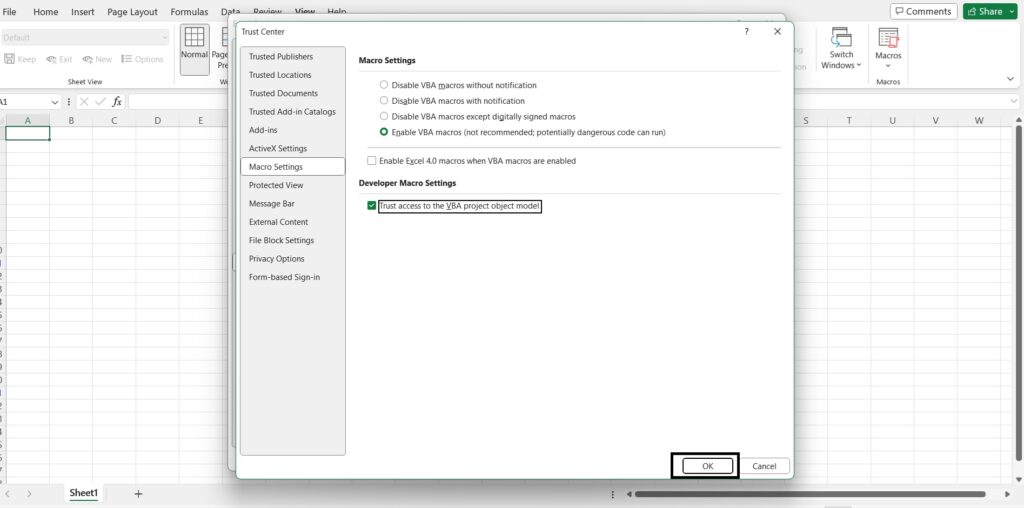
Click “OK” to save your changes. Confirm once more to close the Excel Options window.
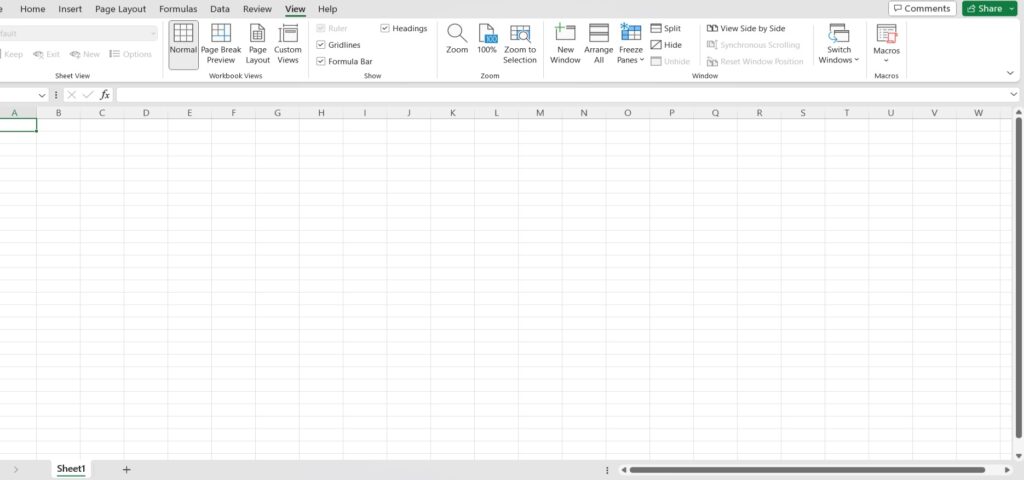
Step 7: Record and Run Macros

- With macros enabled, navigate to the “View” tab in Excel.
- Choose “Macros” from the drop-down menu to open the “Macro” dialog box.
- Name your macro, click “Create,” and watch as the Visual Basic for Applications (VBA) editor unfolds.
- Execute the tasks to record, automatically translated into VBA code.
- Close the VBA editor upon completion.
- Revisit the “Macro” dialog box, select your macro, and click “Run” to set it in motion.
Best Practices for Using Macros
While macros are a game-changer, adherence to best practices is crucial:
- Keep Macros Simple: Prioritize clarity and simplicity to enhance understanding and debugging.
- Use Comments: In complex macros, integrate VBA code comments to elucidate each section’s purpose.
- Review and Test Frequently: Regularly check and test macros to ensure functionality post-changes in your Excel environment.
- Use Caution When Using Security: Allow macros only from reputable sources to mitigate security risks.
- Back Up Your Work: Regularly backup Excel files before running or editing macros as a precaution.
By incorporating these recommendations, you can harness the full potential of macros, elevating productivity and streamlining Excel workflows. Embrace the transformative power of Excel macros cautiously, and toast to a more automated and efficient workflow! Cheers!