When creating a site, the key thing every entrepreneur needs is a branded email address with their company name.
A branded email address will help you gain trust in dealing with different companies and customers.
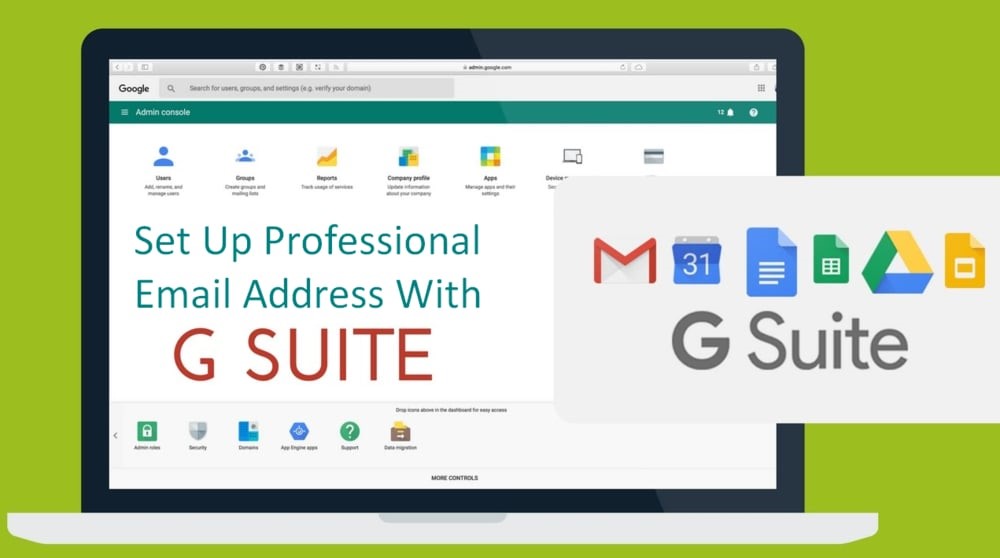
G Suite is a Google Building package that lets you use Gmail with your work email address. In this article, you will know the easiest way of setting up a pro email account with Gmail and G Suit.
Set up a professional email address with Gmail (G Suite)
To get started, you must have a G Suite account, so you can set up your professional mail with it. If you don’t have one, you must first sign up for a G Suite account.
The client costs about 5 yen per month. You have the possibility to make a free offer for two months each year (six months as a customer).
G Suite first offers free for 14 days, letting you see everything before you pick. These are powerful tools used for pva gmail accounts, Drive, Calendar, etc. (but now for your business).
Enter the G Suite home page and click the Start button to get started.
Now, set up all your company information, including organization name, employees, and the location. You can choose yourself for a customer account or choose a representative number.
In this step, select next to go forward.
In this step, you will need to submit your personal contact info, name, and email address.
From there, you will be contacted to choose the name of this region. If you don’t already have a district name, click “I really have one”. Otherwise, click “No, I need it” to enter the name of the place.
If you need to register for another place, you will be billed separately for registering for another place (Tip: Here, we show the best way to register for free).
If you use an existing place name, your field name should be verified. The best way to do this is to let you know later in this article.
In this step, you have to enter your username and password to create your GSuit customer account.
Here, the username should be the first part of your organization’s email address. Also, you can choose or type any custom username for your account.
If you just completed this step, the account creation part is done. Now, click on the “Go to Settings” to customize your account.
If you want to create more records and data for your department or employee, you have to do it on the adjustment screen. Here, you will be able to add more customers or user accounts for your website.
Basically, you can click “I’ve included all customer email addresses” and then click the “Continue” button.
Here you can create more user data if you need to add more customers to your record.
If your place name is stored elsewhere, you will be contacted now to verify that you have a place name.
At this point, you will see the HTML bits that need to be added to your site.
There are several ways to ensure site liability. In the Hosting Accounts panel, you will be able to deposit some HTML documents to your site using the FTP Client or Record Management application.
If you do not have a website, you can use the MX registration policy. When you choose this technique, you will see step-by-step instructions for doing it.
We hope you have a WordPress blog or website for what you want to create your professional account. Here, I will show you how you can incorporate WP verification HTML bits.
To start and launch the Insert Title and Footer plugin, customize the WordPress Admin area in a New Browser tab. For more information, see Funny Bit Bytes, the most effective way to present the WordPress plugin.
After reading, go to the Go Settings page and the Footer page and paste the CopyML code from G-Shoot into the “Text Title” area.
Click “Additional” to avoid its configuration.
Now go back to the G Suite settings screen and check the “I’ve added meta tags to my landing page” box.
You will then be contacted to enter the MX record path for your region name.
Use your professional Email with G-suit & Gmail
Your professional or branded email account will work just like any other Gmail account, even you will be able to use some features that are only available for Gmail only. To do this, go to Gmail and login with your email address, for example, [email protected].
You can manage your G Suite account by accessing the “Administrator Recovery” function. You will be able to customize new customers or user’s accounts with your domain name here. Each user will benefit from 30 GB of storage and the same functionality but will not be able to access the admin console. If you need to delete any user anytime, you can do it from here.