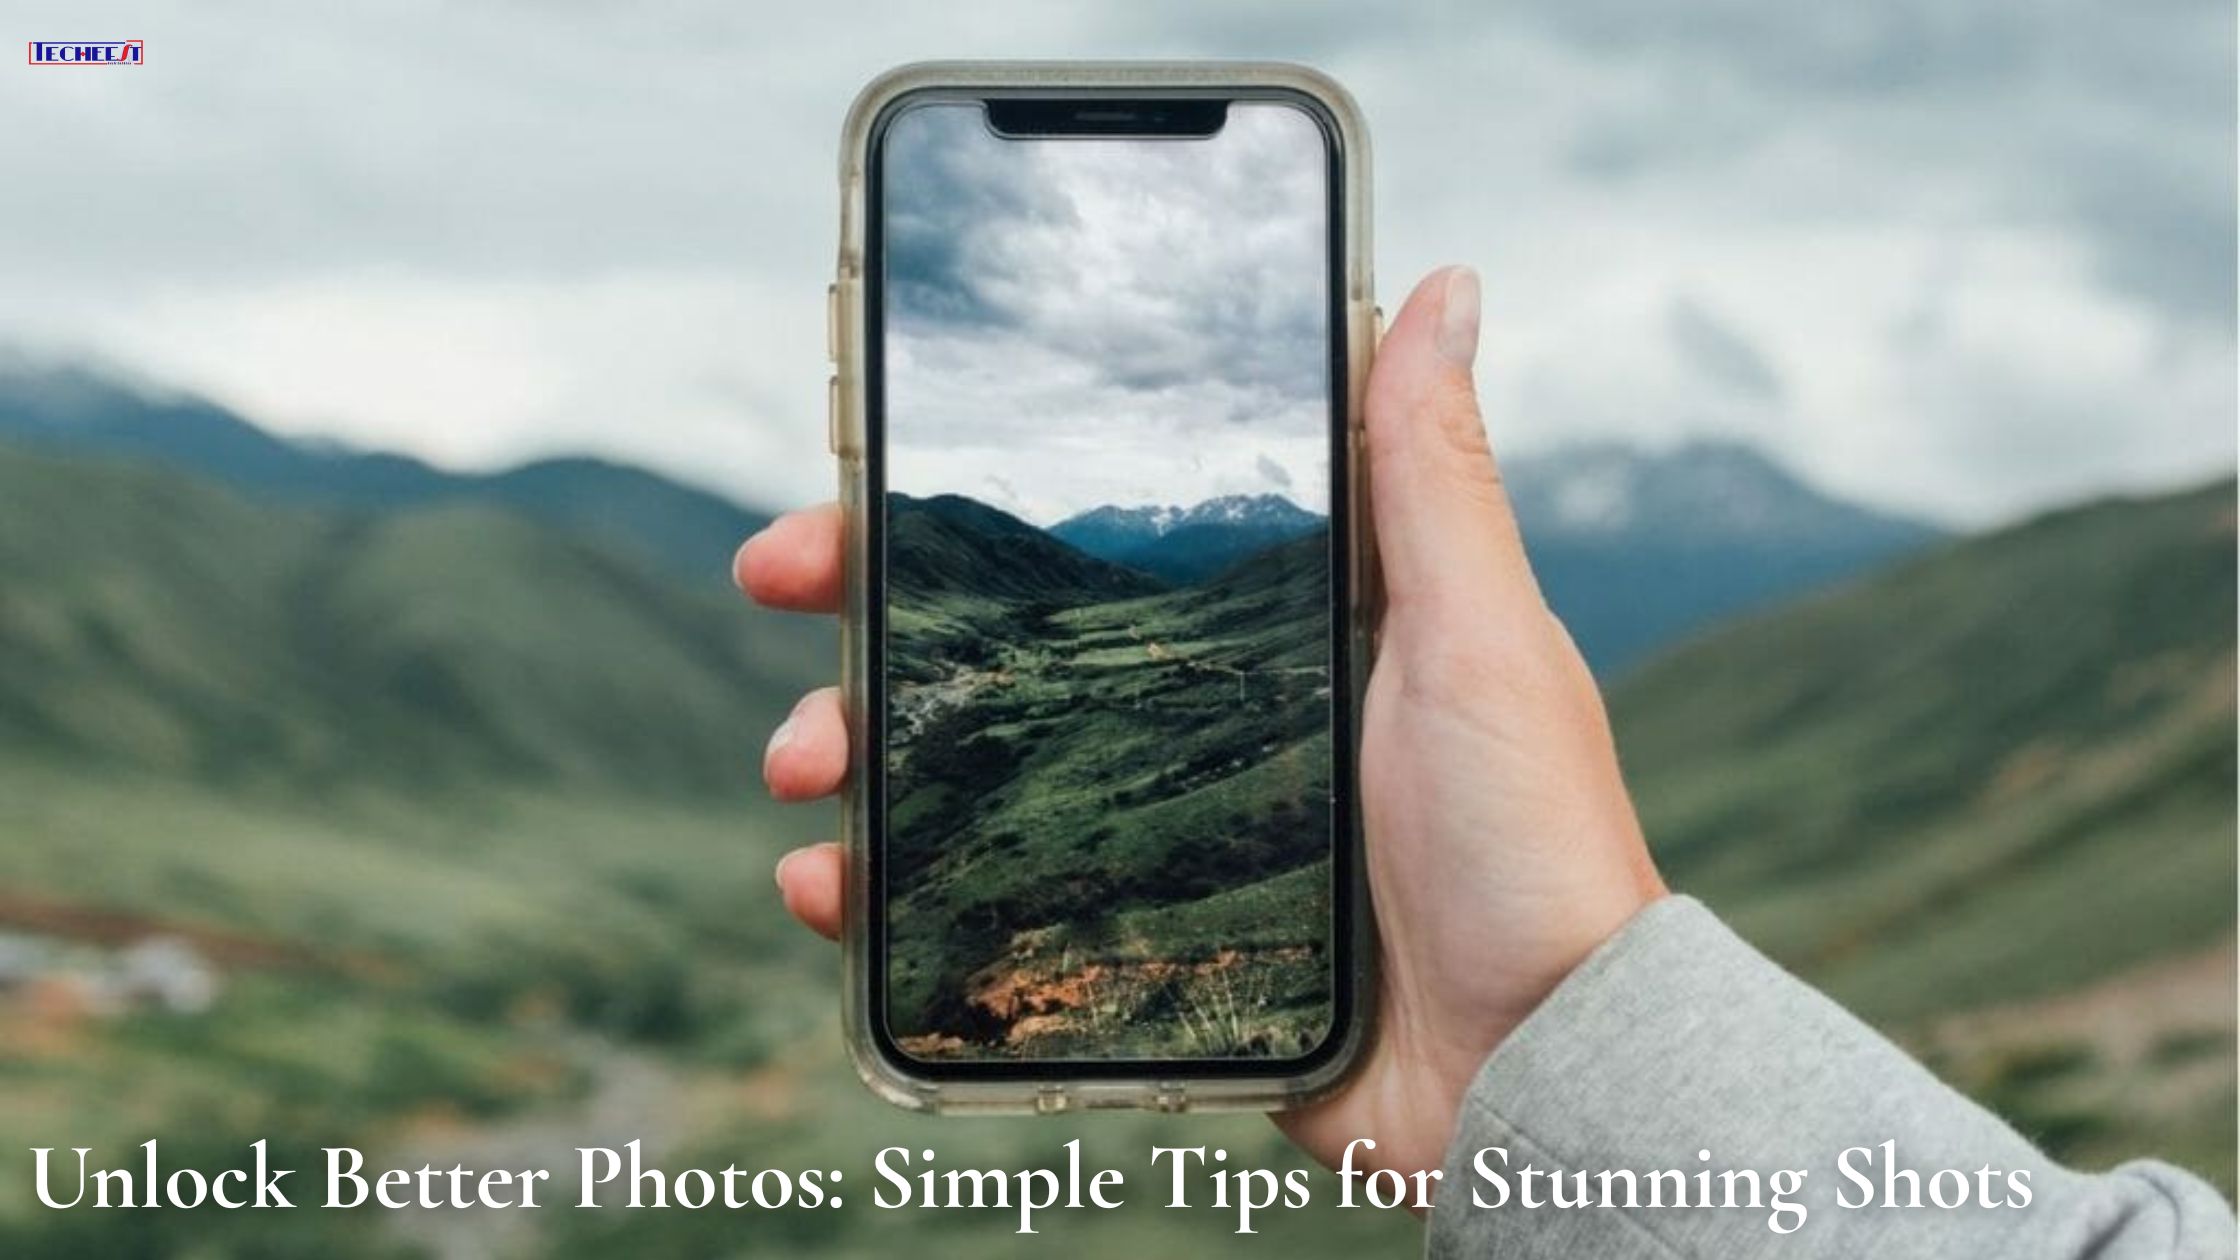
Are your photographs falling flat? Do you dream of shooting stunning photos that without a doubt stand out? In a global saturated with visuals, it is easy to feel like your snapshots get lost within the scroll. But what if you could remodel your ordinary moments into charming works of art, no matter the digicam in your hand? This complete guide of tips for stunning shots will reveal the secrets and techniques to higher pictures, imparting simple but powerful pointers that anybody can put into force, whether you are shooting with the contemporary DSLR, a mirrorless marvel, or just your trusty phone. You don’t need high-priced equipment or years of enjoy to take great photographs.
From expertise on how mild shapes your problem to getting to know the art of composition, we’ll cover crucial strategies as a way to elevate your image’s recreation. Get prepared to transform your normal snapshots into actually lovely shots that inform a story and leave a lasting impression.
The Foundation: Understanding Your Camera & Basics
Before diving into advanced techniques, a simple understanding of your camera is vital. It’s not an unusual false impression that you want the most highly-priced device to take superb snapshots. The reality is, the exceptional camera is often the only one you’ve got with you. Whether it’s a high-quality DSLR, a flexible mirrorless camera, or the effective digicam constructed into your smartphone, knowing its essential abilities is your first step.
While auto modes are handy, venturing into manual controls gives remarkable creative freedom. This is where the “Exposure Triangle” comes into play – an essential idea in pictures that dictates how mild is captured by way of your camera’s sensor.
Know Your Gear (Briefly):
- Smartphone: Incredible for convenience, often with smart AI features. Focus on composition and mild.
- Mirrorless/DSLR: Offers greater manipulation over settings like aperture, shutter speed, and ISO, and allows for interchangeable lenses.
Briefly, auto modes are remarkable for short snaps, but guide modes empower you to make planned, innovative choices, giving you manipulation over the final appearance of your image.
The Exposure Triangle (Simplified):
- Aperture (f-prevent): This controls the scale of the lens opening. A wider aperture (smaller f-quantity like f/1.8) permits lighter and creates a shallow “intensity of subject,” ensuing in a beautifully blurred history (bokeh) that makes your situation pop. A narrower aperture (larger f-quantity like f/16) permits much less light and continues greater of the scene in sharp attention.
- Shutter Speed: This dictates how long the digital camera’s shutter remains open. A speedy shutter pace (e.g., 1/1000 of a second) freezes fast-moving action, best for sports activities or the natural world. A gradual shutter velocity (e.g., 1/30th of a 2nd or longer) lets in for motion blur, ideal for conveying motion in waterfalls or mild trails.
- ISO: This measures your camera’s sensitivity to mild. A lower ISO (e.g., 100 or 200) is good in vibrant situations, producing clean, noise-free snapshots. A better ISO (e.g., 1600 or 3200) is vital in low light; however, it can introduce “noise” or graininess into your pics.
- Goal: These 3 settings work in harmony. Adjusting one regularly calls for adjusting every other to maintain proper publicity. Understanding their interplay is key to accomplishing a nicely exposed photo that fits your innovative imagination and prescient.
Mastering the Light: Your Best Friend
Photography, at its center, is set to take pictures mildly. Understanding how light behaves and how to utilize it efficaciously is possibly the maximum important talent a photographer can expand. The proper mild can remodel an everyday scene into something magical, while terrible lighting fixtures can destroy an in any other case terrific shot.
Golden Hour Magic:
- Often called the “magic hour,” the duration shortly after sunrise and earlier than sundown offers the maximum flattering mild for images.
- The sun is low in the sky, casting a gentle, warm, and subtle glow. This mild provides a beautiful golden hue to your topics and creates lengthy, interesting shadows that add intensity and measurement to your snapshots. It’s perfect for snapshots, landscapes, and cityscapes alike.
Avoiding Harsh Midday Sun:
- The noon sun, in particular on a clear day, can be a photographer’s nemesis. When the sun is at once overhead, it creates harsh, unflattering shadows (often underneath the eyes and nostrils in portraits) and can cause overexposed highlights and washed-out shades.
- Tips for capturing in the vibrant sun: Seek out open color (like underneath a big tree or constructed overhang) where the mild is greater even and subtle. You can also use a “fill flash” on your digicam or a reflector to bounce light onto your subject, softening shadows.
Understanding Light Direction:
The path from which light hits your situation dramatically affects the temper and look of your photo.
- Front-lighting: When the light supply is immediately in front of your problem (in the back of you), it creates flat, even illumination. While true for displaying elements, it can lack size.
- Side-lighting: Light coming from the side adds intensity, texture, and drama with the aid of creating wonderful highlights and shadows. This is extremely good for emphasizing contours and textures.
- Back-lighting: When the mild source is behind your subject, it could create beautiful effects. It can produce lovely silhouettes, or if you disclose the difficulty, it can create a sparkling “rim light” around their edges, setting them apart from the background.
Indoor Lighting:
- Even indoors, natural mild is your fine friend. Position your problem near a massive window, and use sheer curtains or a reflector to diffuse and soften the mild, growing, smooth, flattering glow.
- When using synthetic light, keep away from direct, harsh overhead lighting fixtures. Instead, try and leap mild off a wall or ceiling, or use lamps with diffusers to create softer, more even illumination.
Composition: The Art of Arrangement
Composition is the art of arranging factors within your body to create a visually appealing and impactful image. It’s approximately guiding the viewer’s eye and tells a tale without phrases. Even with ideal lights and publicity, a poorly composed photo can fall flat.
Rule of Thirds:
- This is one of the maximum fundamental composition hints. Imagine dividing your picture into nine sections by using two equally spaced horizontal lines and equally spaced vertical lines (many cameras and phones have this grid overlay).
- Instead of setting your foremost situation at once within the center, function it alongside these strains or, even better, at their intersections. This creates an extra dynamic and engaging photograph, main the viewer’s eye certainly through the scene.
Leading Lines:
- Look for natural or synthetic strains within your scene – roads, fences, rivers, paths, or maybe the edge of a construction. These “main lines” can draw the viewer’s eye from one part of the photograph to another, regularly towards your most important difficulty. They add depth and a sense of course to your photographs.
Framing:
- Use factors inside the scene to “frame” your challenge. This might be a doorway, a window, tree branches, or an archway. Framing helps to isolate your concern, draw interest to it, and upload context or depth to the photograph. It’s like developing a herbal border around your foremost point of hobby.
Symmetry & Patterns:
- Symmetry entails balancing equal or comparable factors on either side of a crucial axis, developing a feel of concord and order. Reflections in water are a classic example.
- Patterns, on the other hand, contain the repetition of shapes, shades, or textures. Both symmetry and styles can create visually hanging and gratifying compositions.
Negative Space:
- The negative area is the empty area around and between the main difficulty(s) in your image. While it’d appear counterintuitive, terrible space is noticeably essential. It allows you to simplify the photo, reduce litter, and draw consciousness to your concern, permitting it to breathe and stand out. Don’t be afraid to leave big areas of sky, wall, or water around your difficulty.
Different Perspectives:
- Most human beings shoot from the eye stage, which can lead to predictable pictures. To make your photos greater interesting, test with unique views: Shoot from high: Get above your subject for a unique aerial view or to reveal scale.Shoot from low: Get down to the
- ground degree to make subjects appear large or to emphasize foreground factors.
- Get closer: Filling the frame along with your challenge eliminates distractions and emphasizes info, creating a more intimate shot.
Focusing & Sharpness: Crisp Details
A sharp photograph is usually a top photograph. Ensuring your situation is in crisp attention is paramount, as blurry pictures rarely bring the supposed message successfully.
Understanding Focus Points:
- Your digicam (and smartphone) permits you to pick out where you need the focal point to be. On smartphones, truly tap on the vicinity of the display screen you need to be sharp. On more superior cameras, you can choose unique autofocus points.
- For images, usually recognition on the situation’s eyes. If the eyes are sharp, the rest of the face will appear in cognizance, and the image will sense greater attraction.
Minimizing Camera Shake:
Camera shake is a commonplace offender for blurry pix, mainly in low light or with slower shutter speeds.
- Hold your digicam constant: Use each palm, tuck your elbows into your body, and brace yourself against a stable floor if feasible.
- Tripods: For low-mild conditions, long exposures, or the usage of telephoto lenses, a tripod is crucial for removing digital camera shake and ensuring maximum sharpness.
- Shutter pace concerns: As a popular rule for handheld taking pictures, try to maintain your shutter speed at least as fast as your lens’s focal period (e.g., for a 50mm lens, shoot at 1/50th of a 2nd or faster).
Post-Processing: The Finishing Touch
Post-processing, or enhancing, is an imperative part of modern-day pictures. It’s not about fabricating photos however about improving what is already there, bringing out details, correcting imperfections, and refining the general look and sense of your photograph. Think of it as developing your movie in a virtual darkroom.
Why Edit?
- Enhancing, not changing: Editing lets you modify exposure, coloration, and evaluation to fit your creative imagination and prescient greater intently to what you noticed or felt while taking the photograph.
- Bringing out information: You can get better-misplaced info in highlights and shadows, making your photos richer and extra dynamic.
- Correcting publicity/color: Fix minor over or underexposure, modify white stability to make certain colors are correct, and subtly beautify vibrancy.
Basic Adjustments:
Cropping and Straightening: Essential for enhancing composition and correcting tilted horizons.
- Exposure: Brighten or darken the general picture.
- Contrast: Adjust the difference between the lightest and darkest parts of your picture.
- Highlights and Shadows: Independently regulate the brightness of the brightest and darkest regions.
- White Balance: Correct coloration casts to make whites seem actually white, ensuring accurate colorings.
- Saturation/Vibrance: Control the intensity of colors (vibrance is commonly greater diffuse).
Popular Tools:
- Mobile apps: Many free and powerful apps are available.
- Snapseed: A flexible and intuitive app by Google with an extensive range of equipment.
- Lightroom Mobile: A powerful app for superior editing, often syncing with computing device versions.
Desktop software:
- Adobe Lightroom: The industry-standard for organizing and modifying big volumes of pictures.
- Photoshop Express: A less complicated, free model of Photoshop for quick edits.
Practice & Experimentation: The Path to Improvement
Photography is a skill that improves with constant effort. There’s no replacement for picking up your digicam and actively taking pictures.
- Shoot Regularly: The more you shoot, the extra acquainted you turn out to be with your camera, the better you’ll understand mild, and the extra your compositional eye will improve.
- Experiment: Don’t be afraid to attempt new angles, test with one-of-a-kind lighting fixture conditions, and shoot subjects you wouldn’t typically don’t forget. Push your limitations and spot what takes place!
- Learn from Others: Study pics you admire. Analyze what makes them fantastic – is it the mild, the composition, the difficulty? Follow photographers whose paintings evoke you and try to apprehend their techniques.
Conclusion
Capturing stunning images isn’t always an elusive artwork reserved for professionals with high-priced tools. By knowing the fundamentals of your camera, learning the nuances of light, applying powerful compositional strategies, ensuring crisp recognition, and embracing the magic of post-processing, you may release a whole new level of photographic capacity.
So, choose up your camera, whether or not it is a dedicated piece of equipment or the phone in your pocket. Start experimenting with those easy suggestions, and don’t be afraid to make mistakes – they may be a part of the gaining knowledge of technique. Photography is an adventure of continuous studying, creative expression, and coming across the beauty within the global around you. Happy capturing!