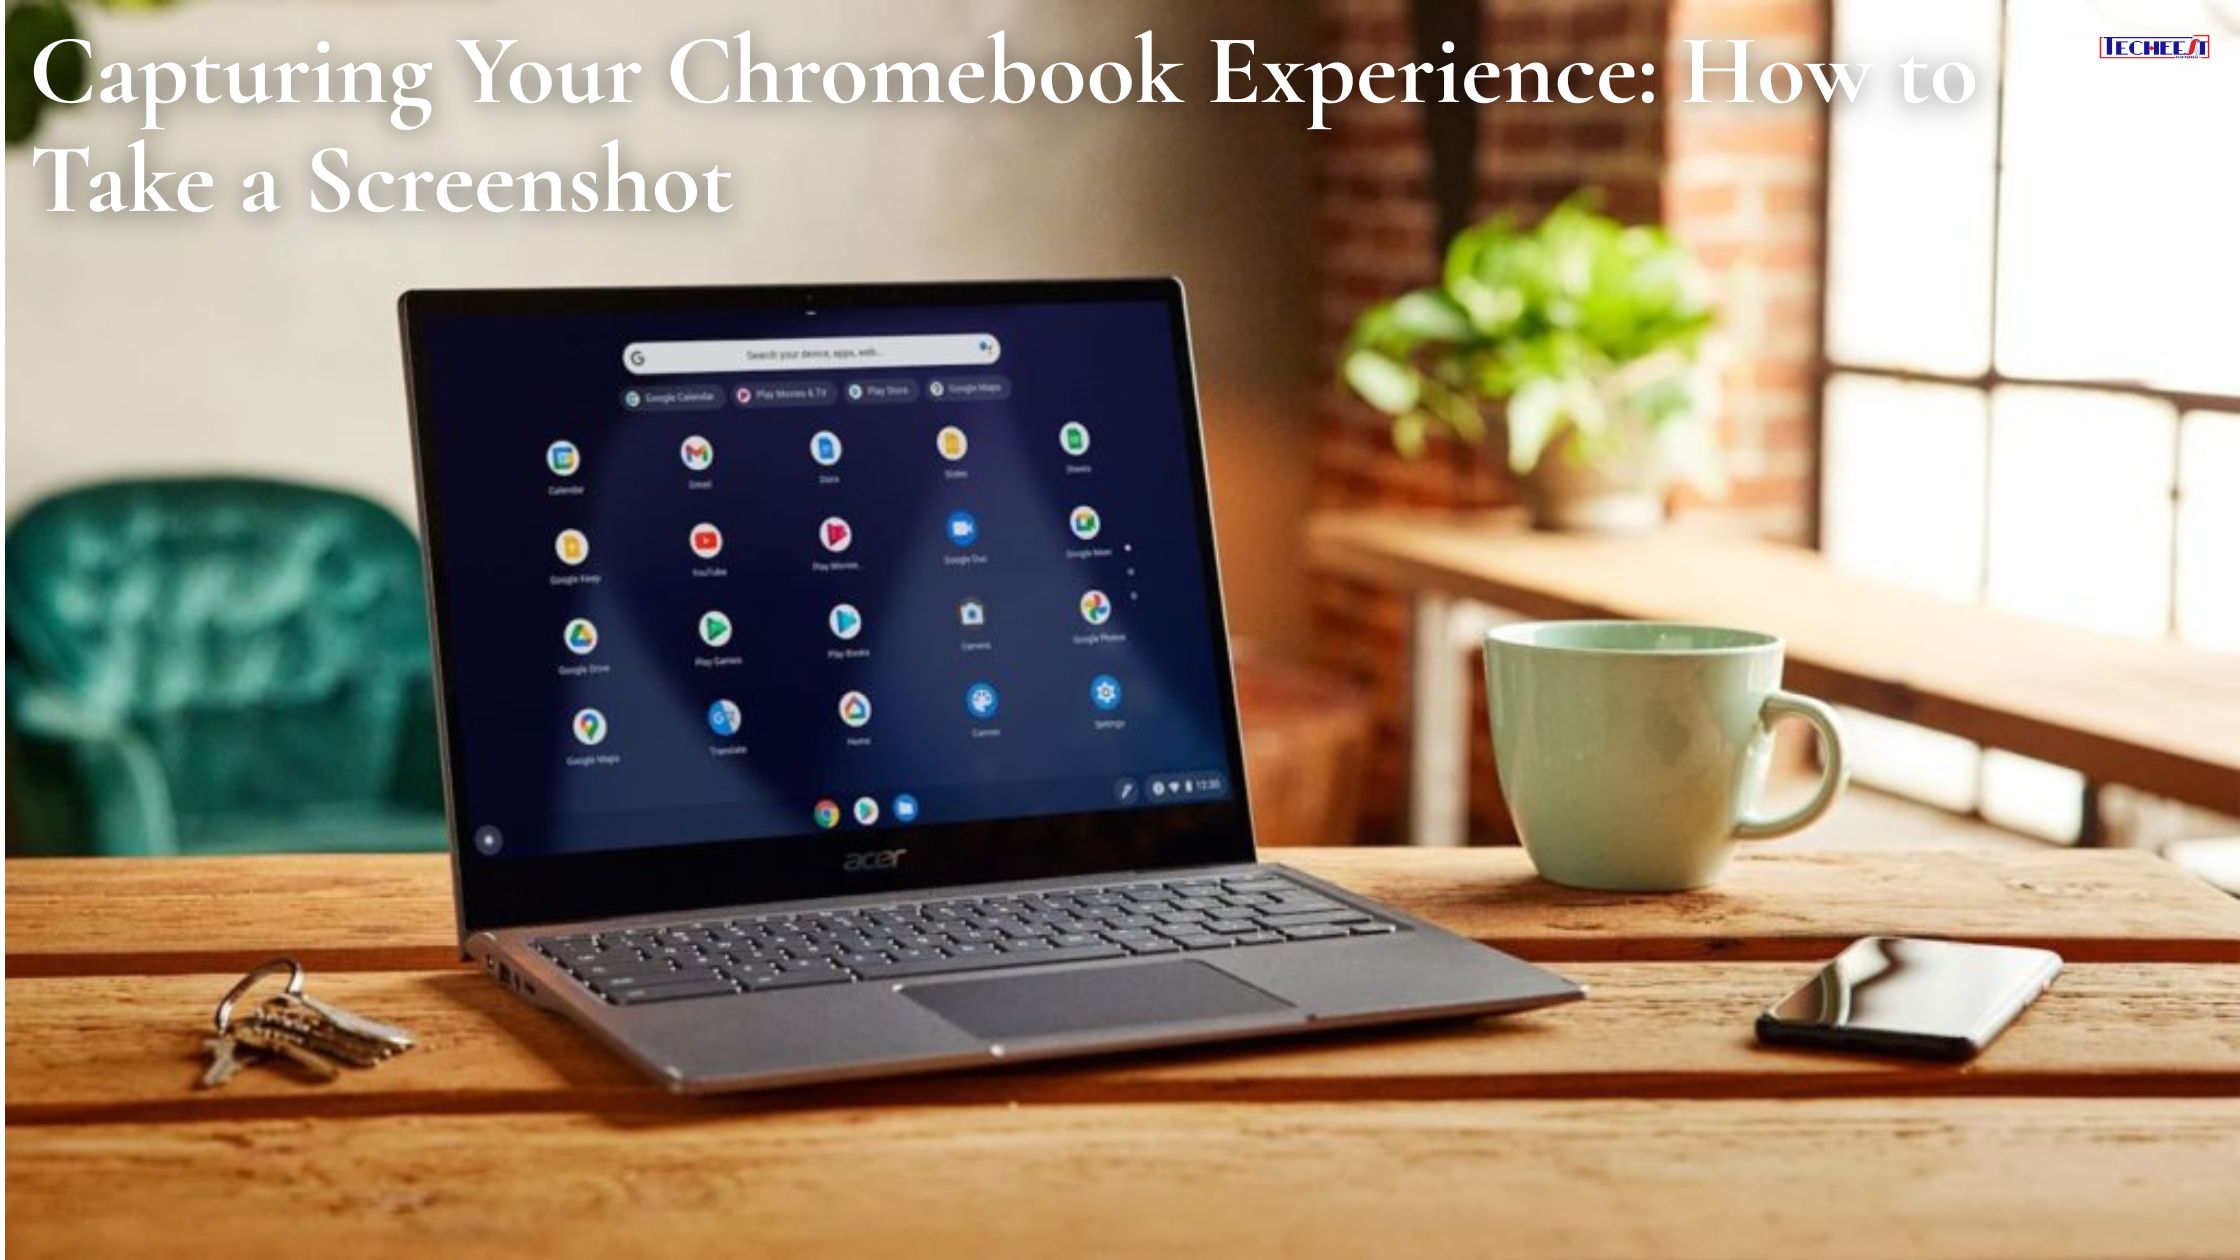
In our increasingly virtual international, the potential to quickly seize what is on your display screen has become less of a luxury and more of an absolute necessity. Whether you are looking to snag an elusive recipe online, acquire evidence of a mistake message for a tech guide, immortalize a hilarious meme, evaluate a layout, or without a doubt seize a student’s finished task, screenshots are an integral tool. They serve as immediate visible data, making them a critical digital ability for everyone. Chromebook PCs, with their developing reputation because of their simplicity, sturdy safety, and seamless integration with cloud services, provide a streamlined computing experience.
However, if you’re transitioning from a Windows PC or a Mac, you may find that the methods for taking screenshots differ slightly. While the Chrome OS prioritizes ease of use, knowing the specific commands is key to unlocking this essential capability.
This comprehensive guide is designed to equip you with all the understanding you need. We will walk you through every approach for taking screenshots on a Chromebook, from brief complete-display captures to precise partial selections or even advanced tips for modifying and dealing with your captured photographs. By the cease of this newsletter, you will be able of master this critical skill for any situation, making sure you can report your Chromebook experience with self-assurance. We’ll cover keyboard shortcuts, the quick settings menu, stylus integration, a way to locate and save your captures, and even a few troubleshooting tips.
The Essential Keyboard Shortcuts
For many Chromebook users, keyboard shortcuts are the quickest and maximum efficient way to capture their screen. Mastering those combinations will significantly speed up your workflow.
Full-Screen Screenshot:
This is your pass-to approach for capturing the whole lot visible on your Chromebook’s display screen.
- Method: Simply press Ctrl + Show windows key concurrently. The Show home windows key (additionally called the Overview key) is generally located at the pinnacle row of your keyboard, often above the ‘6’ or ‘7’ keys, and is identifiable via an icon corresponding to a rectangle with two vertical lines.
- Explanation: Upon pressing, you may hear a wonderful “shutter” sound, mimicking a camera click. A small notification will briefly appear in the bottom-right corner of your screen, confirming the seizure. Crucially, your screenshot is mechanically saved in your Downloads folder and simultaneously copied to your clipboard, allowing you to immediately paste it into files, emails, or messages.
- Use Cases: Ideal for taking pictures of a whole webpage, documenting your full desktop layout, or sharing your whole screen during a video call.
Partial Screen Screenshot:
When you only need a selected section of your display screen, this shortcut gives specific manipulation.
- Method: Press Ctrl + Shift + Show windows key simultaneously.
- Explanation: Your cursor will remodel right into a crosshair icon. Click and drag your mouse or trackpad to draw a container around the exact place you want to seize. Release the click whilst you’ve decided on your favored place. Like complete-screen captures, you will hear a shutter sound, receive a notification, and the photo may be stored to Downloads and copied to your clipboard.
- Use Cases: Perfect for cropping precise factors from a webpage, taking pictures of a section of a document, or keeping apart a product picture.
- Tip: Take it slow while dragging the crosshairs to ensure the most precision on your selection.
Window Screenshot:
If you want to capture just one energetic application window with no historical past clutter, that is the approach.
- Method: Press Ctrl + Alt + Show home windows key. On some older Chromebook models, Alt + Show home windows key can also work.
- Explanation: Your cursor will alternate, prompting you to click on the particular software window you want to capture. Once clicked, only the content within that window may be saved as a picture.
- Use Cases: Excellent for showcasing a particular app’s interface, taking pictures, a pop-up conversation box, or sharing content from one application while keeping other open windows private.
Dedicated Screenshot Key (Newer Chromebooks/Tablets):
Many newer Chromebook fashions, mainly the ones designed for tablet mode or with a focal point on contact, feature a dedicated screenshot button.
- Method: Look for a digicam or screenshot icon at once on your keyboard’s function row or on the aspect bezel of the tool.
- Explanation: Pressing this dedicated key commonly brings up a small menu at the lowest of your screen, offering options to take a full-display, partial, or window screenshot, allowing you to pick your selected method directly
- Benefit: This streamlines the process, making it fantastically intuitive, in particular for customers who no longer need to keep in mind specific key combinations or for contact-first interaction.
Chromebook Tablet Mode Screenshot (Power + Volume Down):
When your Chromebook is in tablet mode (or if you’re using a devoted Chrome OS tablet), the method mirrors cell phone functionality.
- Method: Simultaneously press the Power button + Volume Down button at the facet of your tool.
- Explanation: A short flash or animation will affirm the capture, and the screenshot could be stored as a regular image. This method is in particular designed for short, one-exceeded captures whilst using the tool like a tablet.
- Use Cases: Ideal for quickly grabbing content even as browsing or interacting in touch-based surroundings.
Using the Quick Settings Menu
For those who select the usage of a mouse, trackpad, or touchscreen over keyboard shortcuts, Chrome OS offers an intuitive screenshot tool at once inside the Quick Settings menu. This approach affords a visual interface for capturing your display screen, making it very consumer-friendly.
Accessing the Quick Settings (Shelf):
To start, really navigate your cursor to the bottom-right corner of your Chromebook’s screen on the shelf. This place usually displays the time, Wi-Fi reputation, battery degree, and person profile photograph. Clicking in this vicinity will open the Quick Settings panel, revealing numerous toggles and options.
Locating the Screenshot Tool:
Within the Quick Settings panel, you may find a dedicated Screenshot device icon. This icon is commonly represented through a digital image or, once in a while, a pair of scissors over a screen, making it easy to identify. Its clean, visible illustration makes it a brilliant choice for customers who won’t remember unique keyboard combinations.
Screenshot Options inside the Menu:
Clicking the Screenshot icon doesn’t just take a complete screenshot right now. Instead, it expands to show a small menu at the lowest of your display screen, imparting you the equally flexible options as the keyboard shortcuts:
- Full display screen: Captures the whole thing seen on your display.
- Partial: Allows you to click on and drag crosshairs to select a specific vicinity.
- Window: Prompts you to click on any lively window to capture just that window’s content. Simply click on your desired capture type, and comply with the on-screen activates (like dragging for a partial screenshot).
Advantages:
The Quick Settings menu method offers several wonderful blessings. Its visual interface is highly intuitive, making it easy to find and take into account for infrequent customers. It’s also especially well-applicable for touchscreens, taking into account brief faucets instead of precise key presses. This makes it an extraordinary alternative for those who find keyboard shortcuts much less cushty or efficient.
Advanced Tips and Tricks
Beyond the primary capture methods, Chromebooks provide numerous powerful features to beautify your screenshot workflow, from on-the-spot modifying to handy saving options.
Annotating and Editing Immediately:
One of Chrome OS’s maximum user-pleasant capabilities is the immediate get right of entry to to enhancing tools. After you take any screenshot, a small notification thumbnail will in short appear briefly within the bottom-right corner of your display. Clicking on this notification will open a simple editor in which you may instantly crop your picture, use a pen device to draw or write, or highlighter to emphasize key regions. This short annotation feature is ideal for circling errors, underlining critical textual content, or including brief notes earlier than sharing.
Saving and Finding Your Screenshots:
Chromebooks streamline the saving system. All screenshots are robotically saved to your “Downloads” folder by default, getting rid of the need to manually pick a storage place whenever. The aforementioned notification thumbnail also offers quick actions: you could click it to open the photo directly within the gallery app, right away keep it for your neighborhood garage, or share it via various apps. If you miss the notification, really open the Files app, navigate to “My Files”, and then select the “Downloads” folder—your screenshots could be there. Remember, every screenshot is also robotically copied to your clipboard, allowing for instant pasting into files, messages, or emails with an easy Ctrl + V.
Screen Recording:
An exquisite bonus feature included in the screenshot tool is the ability to file your display. When you set off the screenshot device (either through keyboard shortcut or the Quick Settings menu), you will regularly see a toggle or a separate icon that lets you switch between screenshot and display screen file modes. This enables you to capture dynamic actions, tutorials, or presentations with audio, expanding your content creation abilities.
Using a Stylus (if relevant):
For Chromebooks that support a stylus, this device will become even more flexible. When taking a partial screenshot, the stylus gives terrific precision for deciding on elaborate areas. After the screenshot is captured, the stylus may be used for quick, herbal-feeling annotations, drawing, or highlighting immediately on the photograph, making it particularly intuitive for remarks or creative expression.
Troubleshooting Common Issues
Even with clean instructions, you would possibly every now and then encounter a hiccup when taking screenshots. Here’s a brief guide to common problems and their answers:
Screenshot Not Working:
If your keyboard shortcuts are not yielding results, first test your keyboard settings to make certain shortcuts have not been disabled or reassigned. An easy restart of your Chromebook often resolves transient system defects. Also, verify that no browser extensions are conflicting with the screenshot capability.
Where Did My Screenshot Go?:
The most unusual query! Always reiterate checking the “Downloads” folder within your Files app. Also, don’t forget the current notification thumbnail that appears briefly after seizing – clicking is the fastest way to access it.
Screenshot is Blurry/Poor Quality:
For blurry virtual captures, make certain your display screen resolution is set optimally. If you are shooting bodily objects along with your Chromebook’s camera (less common for “screenshot” but occasionally burdened), make certain proper lights and a steady hand.
Conclusion
Mastering screenshots on your Chromebook is especially smooth and flexible, as we’ve visible. Whether you prefer the speed of keyboard shortcuts, the visual guidance of the Quick Settings menu, or the convenience of pill mode buttons, you currently have multiple dependable methods at your fingertips. You’re officially geared up with an essential virtual ability, geared up to seize important facts, memorable moments, or troubleshooting info effortlessly. Go forth and seize your Chromebook, enjoy with self-belief, and integrate these easy strategies into your everyday workflow!