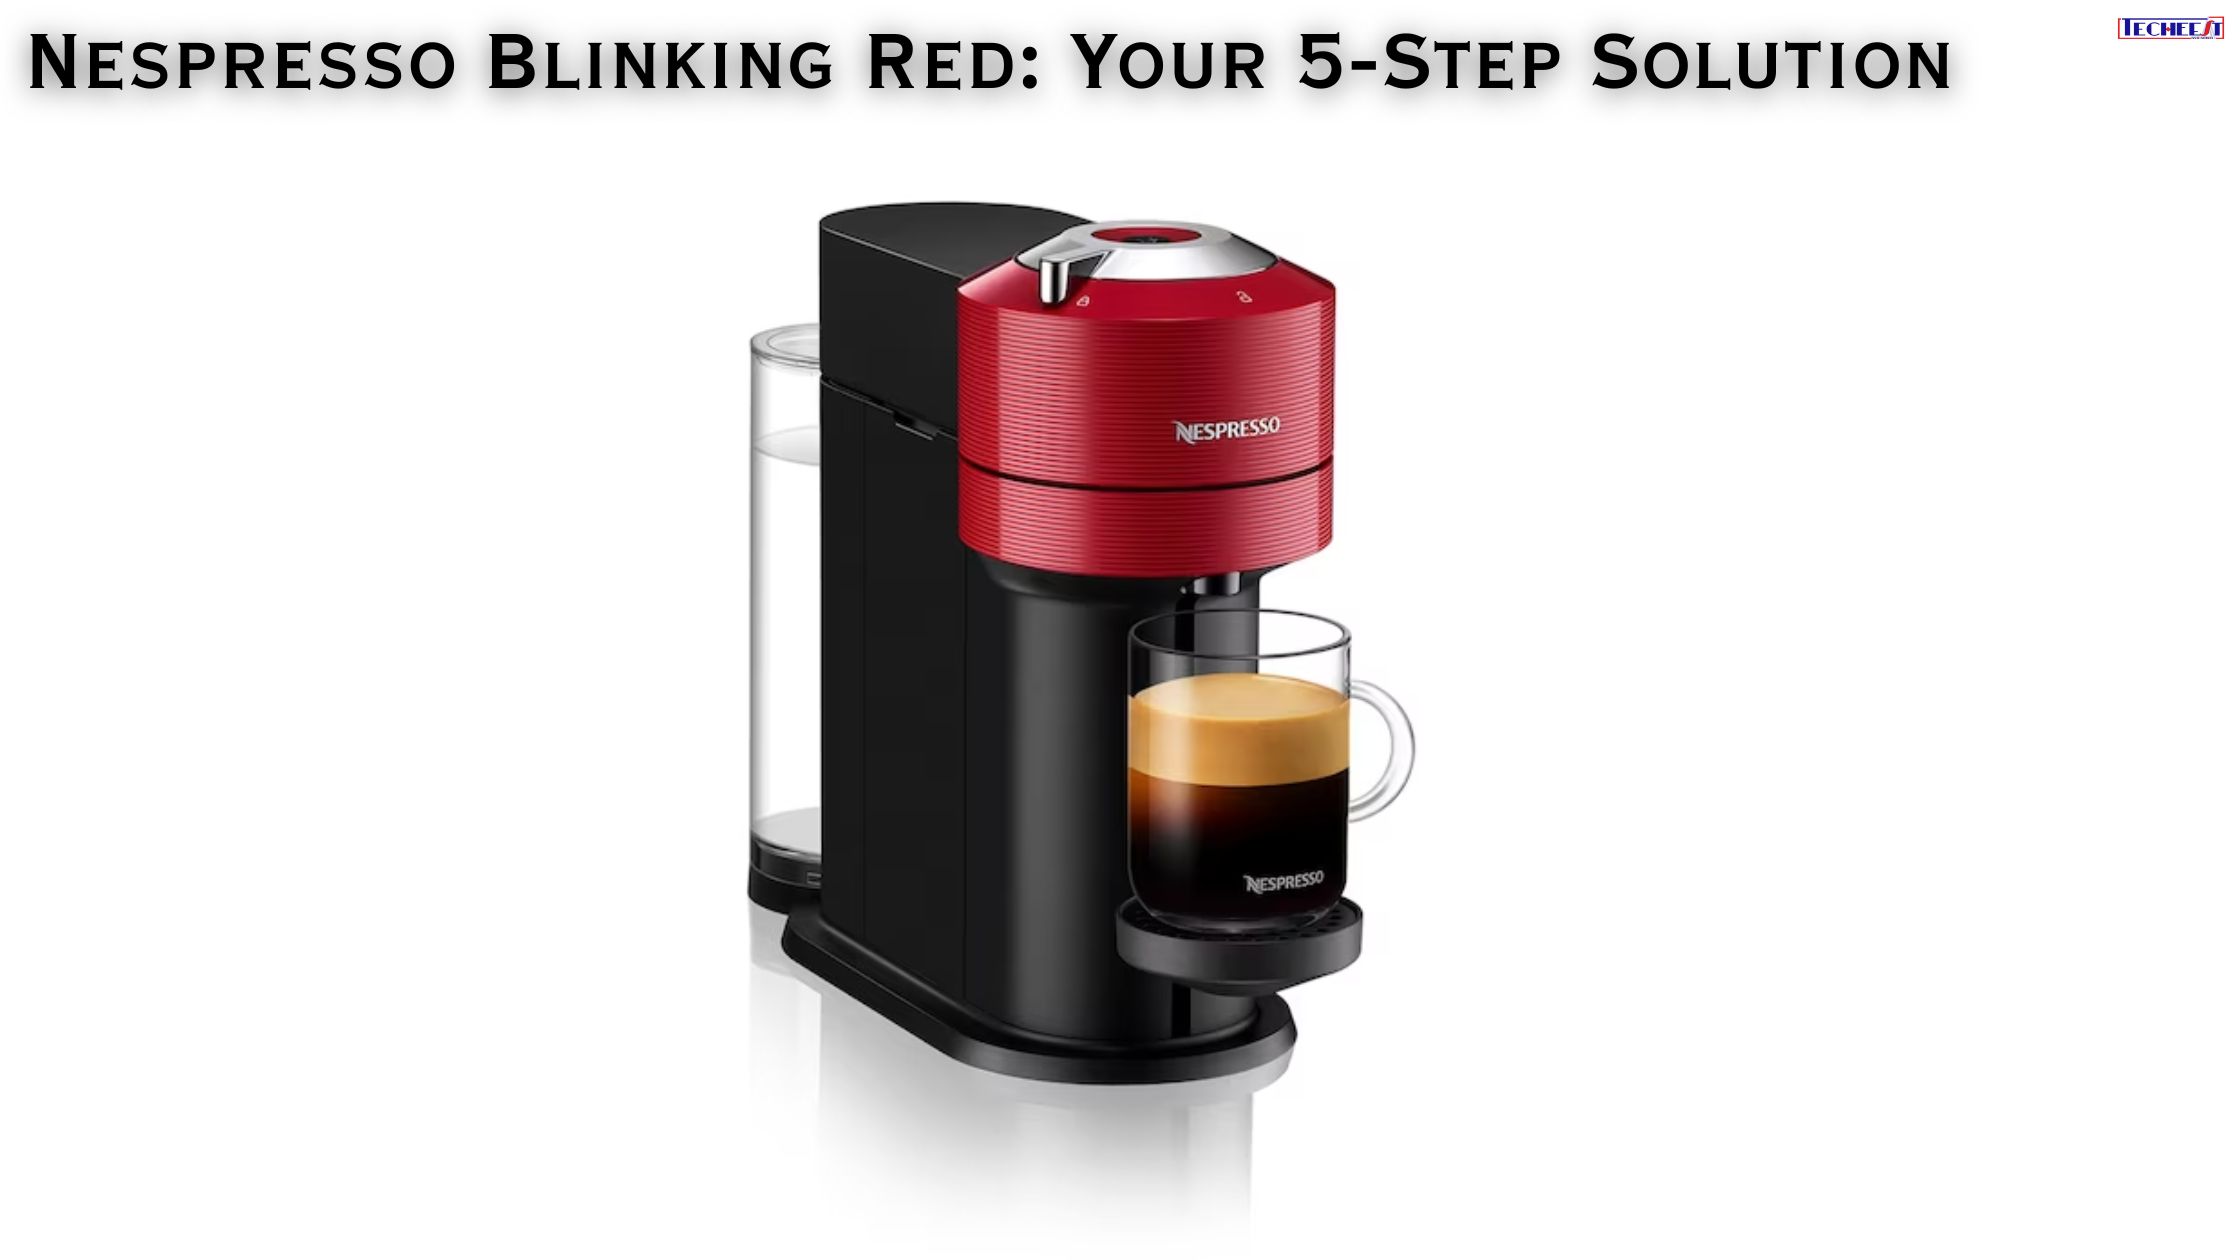
Morning routine for countless coffee lovers worldwide often begins with a comfortable and hot Nespresso machine. This is a moment of simple bliss, an ideal cup promise. But what happens when that familiar process is interrupted by a series of uncertain, shining red lights? Once the glow is replaced by a frantic, blinking warning, and suddenly, your morning enjoyment turns into a troubleshooting of Nespresso Blinking Red nervousness.
A napreso machine that is taking a red nap is a common issue, and while it may look like a disaster, it is actually a sign that some specific needs your attention. The good news is that for most models, the problem can be easily diagnosed and solved with a clear, step-by-step approach. This guide will run through a broad 5-phase solution to get you back to your Nipresso machine.
Step 1: Understand What a Blinking Red Light Means
Before you start troubleshooting, it is important to understand what the blinking red light is trying to tell you. Unlike a steady red light (which usually indicates whether the machine is still getting hot or in a standby mode), a blinking red light on most Nespresso models – which includes popular Pixi, insia, Essenza Mini, and Citizens – usually indicates one of the two things:
- The water tank of the machine is empty. This is the most common and easiest issue to fix. The machine reveals that there is no water to pull to operate the pump to prevent damage.
- The machine needs to land. Over time, water deposits (mainly calcium and magnesium) from water from the internal components of the machine, such as heating elements and water tubes. This buildup, known as limescale, can restrict the flow of water, affect temperature, and eventually cause the machine to malfunction. A blinking red light is often a machine method that reminds you that it is a deep cleaning.
Step 2: The Easiest Fix – Check and Refill the Water Tank
This is the first and most logical move. Surprisingly, this simple inspection is considered criminal.
How to check:
- Find out the water tank on your Nipresso machine. It is usually a clear plastic container located behind.
- Observe the visual water level. The tank may feel as if it contains some water, but the consumption at the bottom can be above the water line, which can prevent the pump from pulling water.
- Even if it looks full, it is best to remove the tank and check the intake. Make sure it is clean and uninterrupted.
How to fix:
- Remove the water tank and rinse it well.
- Fill it with clean, fresh drinking water to the “maximum” line. Avoid using filtered water from a pitcher that has been sitting for a while; Fresh water from the tap is best. Keep the tank back into the machine safely. You should listen to a satisfactory click or feel that it is sitting firmly.
- Once the tank is in place, the blinking red light should be stopped. If this blink continues, proceed to the next step.
Step 3: The Deep Clean – Run a Rinsing Cycle
Sometimes, a quick flush of warm water can remove minor obstructions or air bubbles that can cause blinking. This is a good intermediate step before proceeding with the more involved process.
How to do a rinsing cycle:
- Make sure that the water tank is filled.
- Remove any capsules from the capsule room of the machine and close the lever.
- Place a large container or cup (at least 1 liter volume) under the coffee spoon. Press the lungo (large cup) button and aspresso (small cup) button together, or simply press the Lungo button again and again. The accurate method may vary slightly by the model, but it forces a large amount of warm water through the target system.
- Run the machine until the water tank is empty.
- Once the cycle is completed, the machine should be stopped in the blink of an eye. If the issue remains, go to the next step.
Step 4: The Core Solution – Descale Your Nespresso Machine
If stages 2 and 3 have not solved the problem, it is almost certain that your machine will have to land. Descaling is an important maintenance process that removes mineral buildups and ensures that your machine operates efficiently and lasts longer. Nyspresso recommends every 3-6 months or every 300 capsules every 300 capsules, depending on your water hardness.
What you’ll need:
- Nespresso descaling kit (recommended) or a high-quality descaling solution for coffee machines. Do not use vinegar, as it can damage the internal seals and components of your machine.
- A large container to catch the desalting solution.
How to Descale (General Steps for most models):
- Preparation: Empty the capsule container and drip tray. Fill a water tank with mixed dish solution with water according to the instructions on the kit.
- Enter descaling mode: This is the most important step and varies by the model.
- Pixie, Essenza Mini, Insia: Press both the langos and aspresso buttons for about 3 seconds and grab until the lights are faster.Citizen: For about 3 seconds, keep both the langos and espresso buttons until the lights are blinking.Creatista Plus: The machine will guide you through the process on the screen.Vartuo model: Press the liver for 7 seconds until the lights are orange/yellow in color.
- Refer to the manual of your machine for accurate instructions. If you do not have this, your machine model name will provide a quick search for the user guide on the Nespresso website.
- Start Descaling Cycle: Place a large container under the coffee spoon and press the lungo button. The machine will start releasing the desalting solution, which will run through the system and into the container.
- Repeat the cycle: Once the water tank is empty, insert the used disinfectant solution back into the tank and run the cycle for the second time. This ensures that all internal pipes are completely cleaned.
- Rinse well: After the second cycle is over, dispose of the solution used. Fill a water tank with fresh, clean water and run at least two more rinsing cycles to take out any residual dyeing solution.
- Exit Delling Mode: After the Rining Cycle is complete, get out of the decaling mode by pressing and pressing the same button. The lights should now be solid.
Once the decasting and the rinsing process are over, your machine must be normal. If the blinking red light persists, it is a final step.
Step 5: The Last Resort – Contact Nespresso Customer Service
If you have followed all the stages given above and your machine is still taking a red nap, then it is time for experts to call. The issue can be more complex, such as:
- A defective pump: The pump may be unable to put pressure on the water, which can shut down the machine.
- A sensor malfunction: The internal sensor of the machine cannot detect the water level or flow correctly.
- An electric defect: There may be a problem with the internal circuitry of the machine.
Nespresso is easy to contact customer service, and is the best course of action at this point. They can provide model-specific troubleshooting tips, you can walk through the dysling process on the phone, or if your machine is subject to warranty, arrange for repair or replacement.
How to contact NESPRESSO:
- Visit the official Nespresso website for your country.
- Go to the “Contact us” or “Customer Service” section.
- The model and serial number of your machine (usually found at the bottom of the machine) is ready.
A Final Tip: Prevention is the Best Medicine
To prevent the dreaded blinking red lights from recurring, create a regular part of the maintenance of your machine. Use the recommended dysling kit and stick to a consistent schedule depending on your use and local water rigidity. A well-maintained machine not only avoids these annoying issues, but also produces better tasting coffee, as the limscale can negatively affect the temperature and pressure.
By following this 5-step solution, you can solve the “Nespresso Blinking Red” problem quickly and confidently, making sure that your machine is ready to distribute that perfect, comfortable cupof coffee whenever you need it.